Ultrasonic cleaning method - Beijing Jinke Lida Electronic Technology Co., Ltd.
1) Unpacking inspection and installation. After unpacking, carefully check the parts of the ultrasonic cleaner for looseness, and check whether the accessories are complete according to the packing list. Next, install the machine in a dry, well-ventilated area, making sure the machine is in a horizontal position. The washing machine with drainage structure installs the water pipe, the discharge pipe and the overflow discharge pipe of the washing machine.
2) Inject water into the ultrasonic cleaning tank. According to the cleaning, add appropriate amount of water to the cleaning tank. The cleaning fluid is usually added to the tank and must be submerged in the workpiece being washed. Do not inject boiling liquid into the tank to avoid the transducer from falling off due to sudden heat.
3) Connect the circuit correctly. Turn on the power, connect the power plug correctly (must use a three-hole socket), and have a reliable grounding wire to ensure safe use of electricity. Refer to the ultrasonic cleaning machine installation manual to connect the temperature control sensor signal line, ultrasonic drive line, heater control line and other lines between the electric control cabinet and the main unit of the cleaning machine.
4) Ultrasonic cleaning and heating. Start the electronically controlled heating switch and point the white scale line on the water temperature adjustment knob to the appropriate temperature (should be left and right) (see Figure 1). The maximum temperature of the cleaning agent should not exceed during use of the washing machine.
 Instrument Co., Ltd. Figure 1 "border="0" alt="KQ5200DE Kunshan Shumei Kunshan Ultrasonic Instrument Co., Ltd. Figure 1" src="http://" _fcksavedurl= "http://" />
 (Fig. 1) 5) Ultrasonic cleaner is added to the cleaning agent. When the water temperature rises to the left or right (see the figure for cleaning agent or heavy grease cleaning agent (type of cleaning liquid: water, alcohol, washing water, degreaser or detergent), the choice of cleaning solution is from the object to be washed Decide) Add to the cleaning tank (usually about once), stir the water to make it fully dissolved (this can also start the ultrasonic or open the aeration device for stirring).
6) Ultrasonic cleaning machine pretreatment. Before cleaning, it is advisable to use bamboo to first remove the dirt on the surface of the parts (such as the dust cover, there will be a lot of dust on the outer surface, and the parts of the cylinder block will accumulate thick and easy to remove the sludge in the curve of the outer casing). Simple cleaning A moment to extend the life of the cleaning fluid. Ultrasonic waves can be precisely cleaned, but their ability to treat dirt from mud is weak. Therefore, yellow mud or muddy dirt should be removed as much as possible during pretreatment.
7) Ultrasonic cleaning machine parts are placed. Place the parts in the steel basket and gently put them into the cleaning tank. When there are more parts to be placed at one time, they should be evenly distributed in the basket without overlapping.
8) The ultrasonic cleaner is turned on. Turn on the power switch. After power-on, the display will show “00†for each time. Each time the up button is pressed, the time increases by 1min, and the long press can be continuously incremented. Each button “down†button once, the time can be reduced by 1min, long press can be Continuous decrement.
9) The ultrasonic cleaner is stopped. To stop the machine during the cleaning process, press the “OFF†button to turn it back on, then press the “NO†button.
10) The ultrasonic cleaner overflows. If there is too much oil floating on the surface of the cleaning tank, the overflow device of the cleaning machine should be opened to remove it to prevent secondary pollution of the workpiece to be cleaned. The specific operation is as follows: Open the overflow discharge valve and inject water or cleaning liquid into the cleaning tank until the cleaning liquid begins to overflow. It is recommended to use a scraper-type appliance to cut the oil in the direction of the overflow to promote its rapid discharge. Keep the overflow drain valve closed to prevent ground contamination from accidental overflow.
11) Post-treatment of the ultrasonic cleaner. Take out the cleaned parts (see Figure 2), thoroughly blow off the residual cleaning solution in each hole with compressed air, and blow dry the surface (recommended to use a blow gun with air compressor). If possible, it is best to have a pool near the washing machine to rinse the removed parts.  (Fig. 2) 12) Ultrasonic cleaning machine treatment. When ultrasonic cleaning of too many parts, the content of sludge in the cleaning agent will be quite high, and with the emulsification of ultrasonic waves, the cleaning agent will weaken the ability to purify due to dirt and sticky, and should not be used continuously. It is recommended that the user configure the water storage tank to work with the ultrasonic cleaner to precipitate a dirty cleaning agent for recycling to reduce costs.
13) Ultrasonic cleaning machine soaking auxiliary function. Many parts, such as cylinder heads, pistons, connecting rods, supercharged turbines, intake and exhaust manifolds, etc., have carbon deposits, some are lighter, and are easy to clean 'clean, but some are very Heavy, in this case, the necessary soaking and softening process of the workpiece will achieve better cleaning effect.
Variable Frequency AC Power Supplies
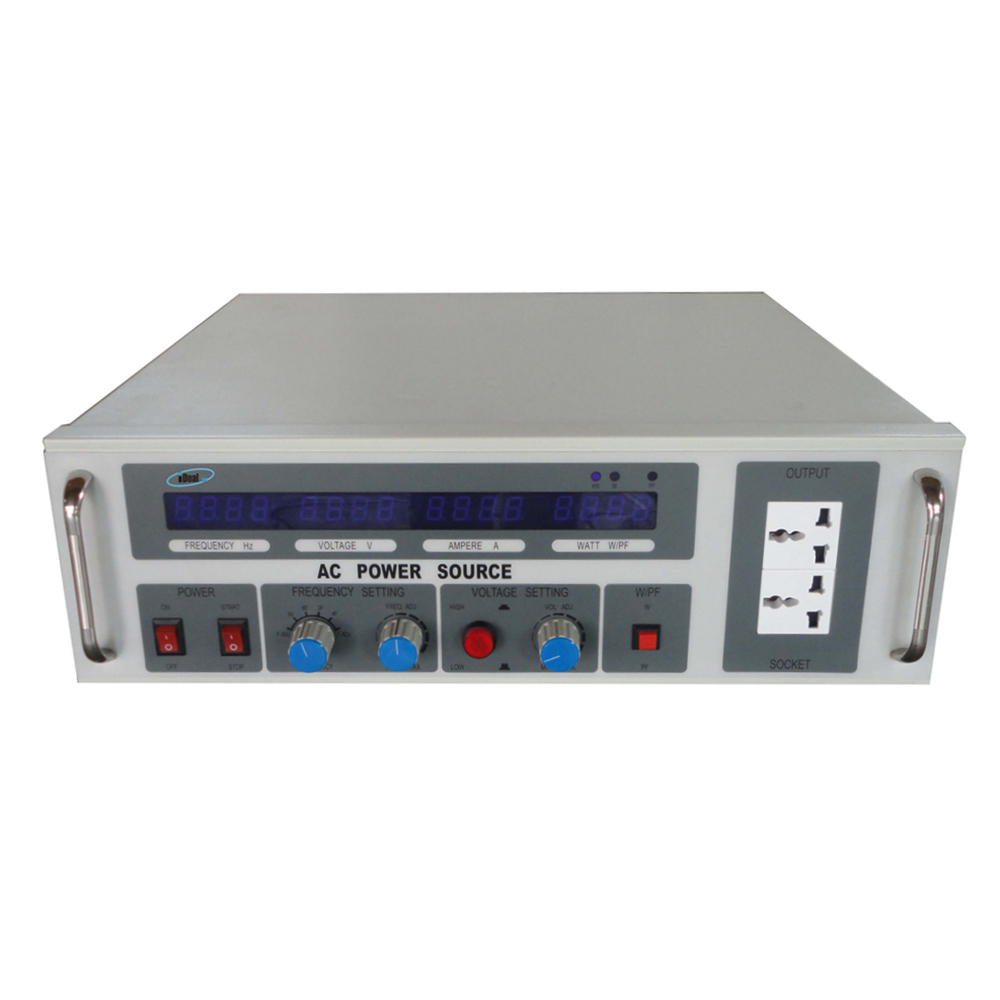
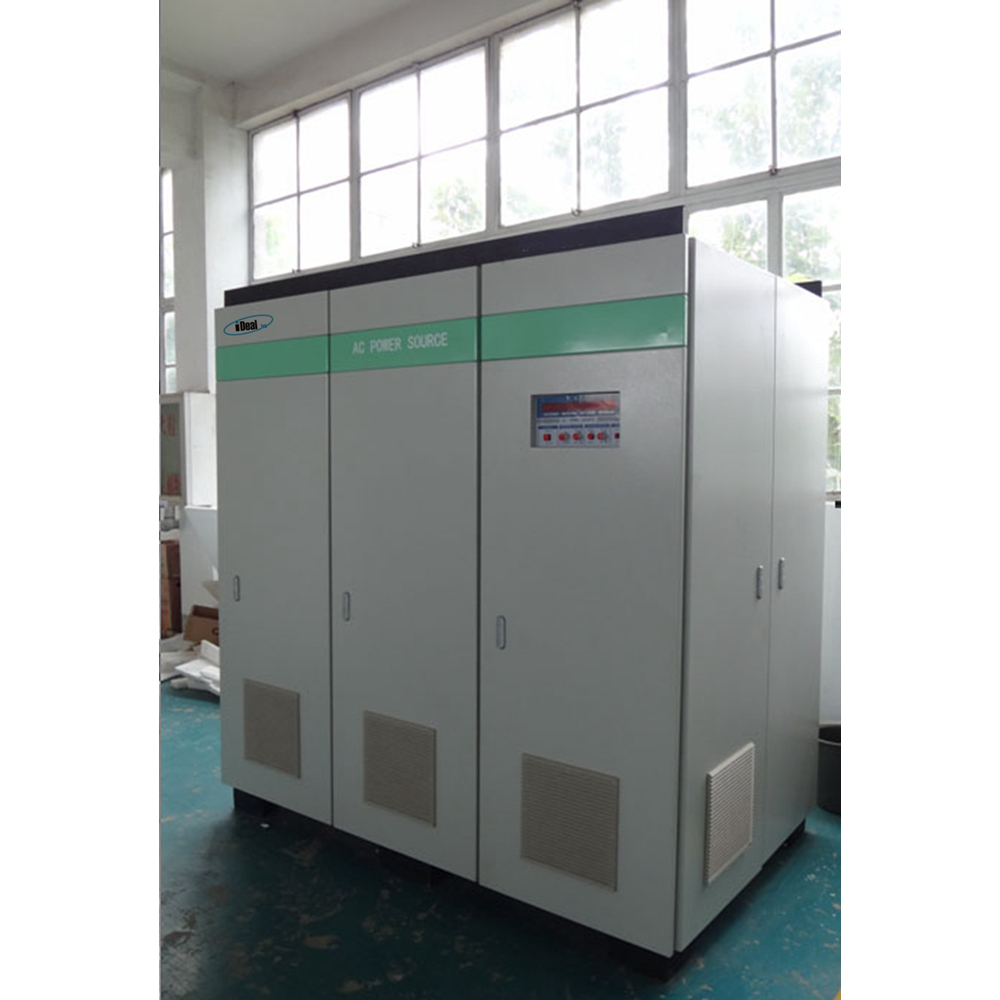
The VFP series AC Power Supplies are high precision, high efficiency, low THD adjustable AC power supplies that converts the input mains power through AC→DC→AC conversion, and gives a pure sine wave AC output with adjustable voltage & frequency within a certain range. Also known as Variable Frequency AC Power Source.


According to the difference in the number of output phases, it can be divided into single-phase and three-phase AC power supplies.
The output power of single-phase adjustable AC power supply ranges from 500VA to 200KVA, the output power of three-phase adjustable AC power supply ranges from 3KVA to 600KVA, the output voltage is divided into 0 ~ 150Vac, 150 ~ 300Vac, and the output frequency is adjustable from 45Hz to 70Hz with 50/60Hz fixed frequency output.
Through the friendly operation panel, you can read the output data such as output voltage, output current, output power, power factor, etc., providing accurate data records for your test, and can add RS485 interfaces as standard, following the MODBUS-RTU international communication protocol, which can realize remote control and operating status monitoring of the power supplies.
This series of adjustable AC Power Supplies have comprehensive protection functions, such as: over voltage, over current, over temperature and short circuit protections, which can protect the AC power supplies and DUT from damages. At present, it is mainly used for Various electrical appliance manufacturers conduct grid simulation tests on electrical appliances according to the voltage/frequency requirements of different countries. Imported electrical appliances are used for the domestic demand for variable voltage and frequency conversion, as well as various AC motors and AC transformers.
Variable Frequency AC Power Supplies, AC Variable Frequency Power Supplies, Variable Frequency AC Power Sources, Variable Frequency Power Supplies, Variable Frequency Power Sources
Yangzhou IdealTek Electronics Co., Ltd. , https://www.idealtekpower.com